One thing that I really like about little Sully is that he spends a great deal of time wearing only his diaper. I mean honestly, I think most people would just wear their underwear if they could get away with it with no judgement. Chicago in the summer is unbearably hot and humid. Plus, if you already have to bathe your baby and he's only going to get food and spit up on everything why bother washing clothes too?
I figured that such a suave shirtless bachelor could use a little something to shake up his wardrobe without having to inhibit his manly cuteness. And thus, this diaper cover was created! For those special occasions when you can pull of shirtless-ness but want to class it up beyond the standard diaper. Bonus points: it's Chicago Bulls colors.

You'll Need:
2 skeins of yarn in contrasting colors
3.25 mm/ size 3/ size D knitting 16" circular needles
DPNs
I used size 5 DPNs for the legs, as that's all I have, but the same size as the body would be ideal.
I used Caron's Simply Soft yarn.
The Pattern:
The Body:
Cast on 90. Work in the round until you have about 5 inches, or your desired length from top of thigh (keep in mind the waistband will add to that height too).
To start the leg holes: bind off 5 stitches, knit 40, bind off 5 stitches, knit 40, turn work.
At this point, we will be knitting a band out of one side. The other side can be transferred to another needle, kept on your circular needle, or put onto a piece of string or other holding device for the time being. I kept mine on the other side of my circular needle as it seemed the least work.
On purl side, bind off 1, purl across, turn work.
On knit side, bind off 1, knit across, turn work.
Now we're going to do ribbing for between the legs. If you opt not to, just continue to knit and purl until your desired length. The ribbing gives you more flexibility with how big their diaper is. If you used a different number of stitches, adjust the ribbing as needed to keep it symmetrical.
On the knit side: k5, p2, k3, p2, k3, p2, k4, p2, k3, p2, k3, p2, k5 (38)
On the purl side: p5, k2, p3, k2, p3, k2, p4, k2, p3, k2, p3, k2, p5 (38)
Repeat this ribbing until the thigh holes are the desired size. Mine was about 9.5 inches long. Stop when you're about to do the knit side.
K1, m1r, knit across until you have 1 left, m1l, K1, and turn.
If you're unfamiliar with m1r and m1l, they're a way to add a stitch that I explained here.


Merging the Body:
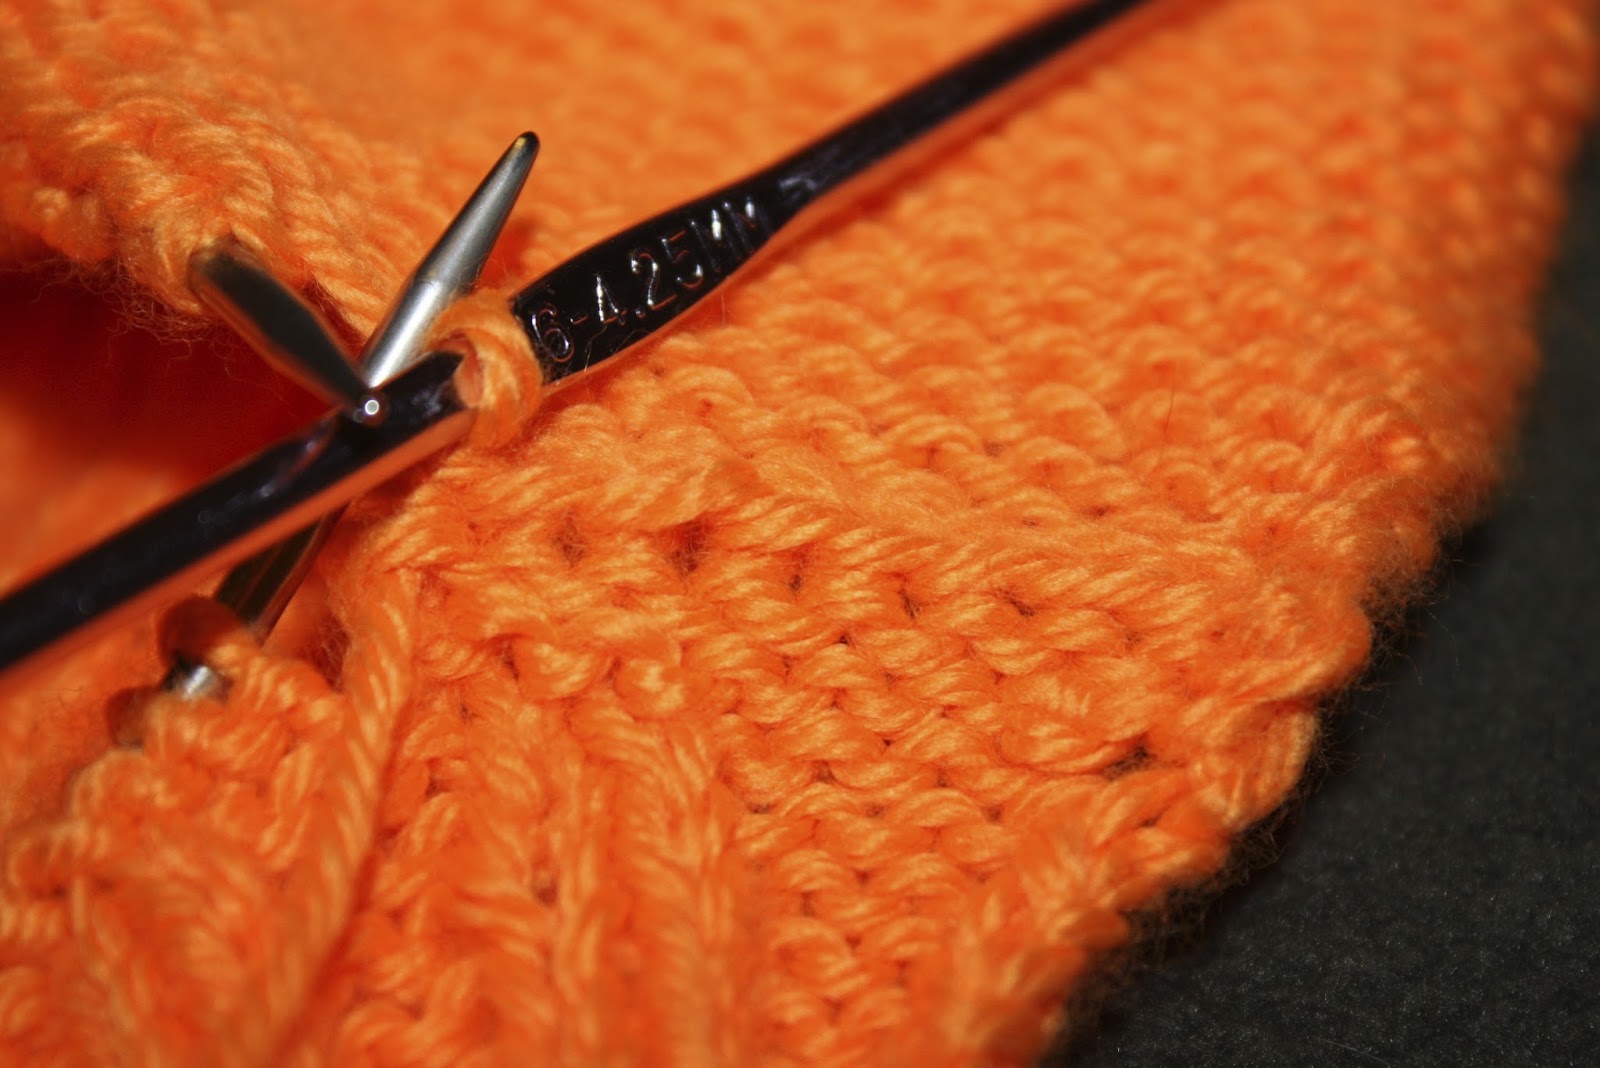
Starting a purl side row, turn the whole body to face the purl side and line up both sides. Using a crochet hook if you have one, or another knitting needle, purl through a stitch on both sides. Bind off as you go.

bloomers inside out prior to seam

when seaming, purl through both front and back sides

finished stitch
binding off as you go

finished seam on the inside

seam from the inside

seam from the right side

Leg Holes:
For the leg holes, use a contrasting yarn to make a ribbed ring.
I used a crochet hook to pull up loops of the contrasting color one stitch in, and every other stitch apart. I then transferred these to DPNs. If you don't have a crochet hook, you could pick up stitches to bind to using your DPNs, but it might look a little different, and possibly not as neat in the finished product.


Make sure you have an appropriate number for the ribbing you do. I did 2x2 (i.e. knit 2, purl 2), so I made sure my total number was divisible by four.
Continue the ribbing- in my case k2-p2- in the round until you reach your desired length and bind off loosely. Mine were a little longer than 1 inch.
Repeat with the other leg.

For the waistband, use the same method as used on the legs to create loops several stitches below the top. As before, make sure your number of stitches is divisible by the number of stitches in your repeated pattern.
I used 2x2 rib on the top as well, for about 2 inches in height.

Waistband Tie:
For the tie, I made an i-cord two stitches wide. Weave this through the waistband.
This is optional, but it's cute, and will help keep your bloomers on if it's not exactly the right size.

And that's it! Please let me know if you have any questions.
My final product is about 11 inches tall and 9.5 inches wide when laid flat.
The gauge is 4.5 stitches wide and 6 stitches tall in a 1 inch square.

a little size comparison

the backside

the ribbed bottom
On a side note, while researching patterns I found of that people actually call these "soakers", which is weird and kind of gross. I like "bloomers" much better, so we're going with that.
P.S. This pattern is now up on Ravelry.
No comments:
Post a Comment